This was not a quick or easy task-The slide seal has been removed in order to get to the edge of the flooring.
Here it is now.
 This was not a quick or easy task-The slide seal has been removed in order to get to the edge of the flooring.


 We then enclosed it with the Styrofoam insulation on the sides and the ceiling,
 We have also lowered the floor platform so that the fridge should slide into the opening.
 We should have an idea tomorrow!


 We also changed out the roof vent that was in the living room area with a Fantastic Fan.

 We drilled the holes and connected the hoses-
 - to a new outside connector.
 This project is now complete!


 This is the thick black foam that was used as packing- I cut it into a strip and then sliced it almost completely through so I could push the fins into the foam-and have the foam fill in the openings.
 We then took strips of "Eternabond" (this should be in every RVer's 'Must Have' kits!) and sealed the foam and openings completely.
 The vent cover had to be put back up before it was completed- but it definitely made it easier to take a picture!
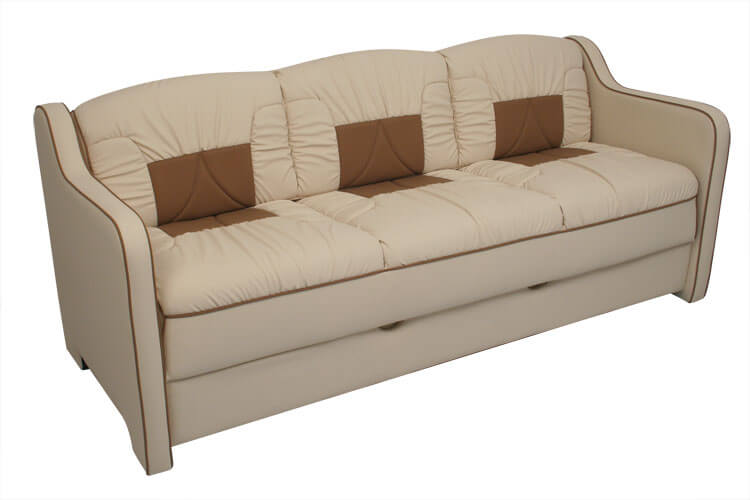
 We also ordered the table trays to use with it-as shown below!


 These upper cabinets have been removed!